
I’ll be making references to Photoshop since it’s the standard, and has the best set of tools to manipulate digital IR images. This is a basic tutorial, for more advanced Infrared Photoshop tips see my new IR Program.
Open your infrared image files. If using RAW, don’t let Photoshop, automatically make adjustments. Keep your settings at the default “as shot” settings. The only thing you may want to change here is the vignetting. (Unless you’re using a Cokin type filter, you may get dark edges at wide angles, and the RAW program in Photoshop can eliminate these for you.) You can also experement with changing the white balance. Save your resulting file as a PSD.
You can always go back to the original RAW infrared image later and experiment again with WB, exposure etc. But work on the original “as shot” image first.
If you’re shooting JPGs, you’re ready to go.
The first thing to do after opening your image is to convert it to black and white. There is no real need to use “Autolevels” as we do in the false color method.
Now if you’re a seasoned Photoshop user, you know that there are many ways to get in image into B&W. As is usually the case with everything in life, the easiest method is NOT necessarily the most effective. Feel free to try all the conversion methods, but the one I prefer is to use the Channel Mixer.
I check the monochrome box in the left hand corner which automatically removes the color from the image. But now you can play with the individual color channels to increase or decrese the individual values.
After playing with the channels, there’s no one Best way to assess if your image is “good” or not. It’s really your artistic judgment and personal preferences that will tell you if the image is “good to go.”
Next, you may have to go to Image>Adjust>Selective color. Here you can select neutrals, whites or blacks, and add or decrease the intensity of these tones. For black and white digital infrared photography, the contrast should be fairly low, and the whites quite white, without blowing out the highlights.
From there, click ok when you’re happy with the result, and go to Filters>Distort>Diffuse Glow. This is the tricky part – but it’s the part that adds the ethereal look of traditional film infrared.
Make sure your background color is set to white. If unsure, do “d” “x” to revert the colors to the default. If the little box is showing black, hit “x” one more time to get it to white.
Now the diffuse glow, settings are dependant on the tonality of your image, its resolution, size and your own preferences. So again, you’ll have to experiment.
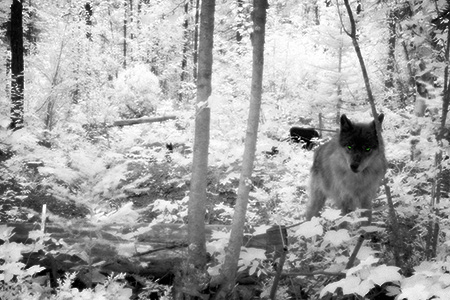
Play around till you are satisfied that your image now looks like the surreal and spooky black and white infrared film images we’ve come top admire so much.
Photoshop CS4 comes with some nifty Channel Mixer Presets one of which is the Black and White Infrared preset. I love this one. It’s accurate, automatic and makes you look like a superstar!
And that’s it!
If you want more in-depth and more variations for black and white Infrared Photography check out my newest infrared program – a complete course on infrared postprocessing with Photoshop.